Considering tin ceiling tiles? We were too, after we saw them installed in some model homes we looked at.
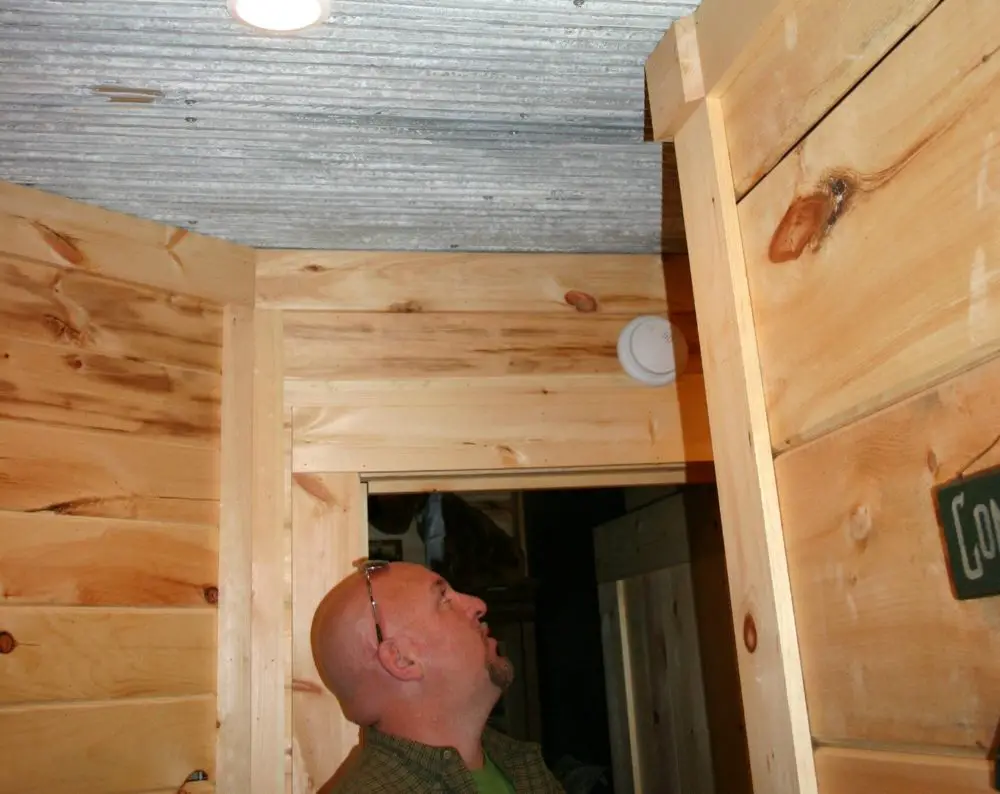
Actually, our first idea (for a rustic twist) was to use pieces of tin metal roofing inside your home — either on the ceiling, as a backsplash, or across the front of a bar/countertop area in certain rooms.
But ceiling tiles look more professional and “finished.”
Decorating Ceilings vs. Walls
Believe it or not, what you put on the ceiling is just as important as what you put on the walls.
Technically, the ceiling is a fifth wall — but your decorative options go far beyond just deciding what color of paint to use.
Decorative ceiling tiles provide a unique and stunning alternative to leaving your ceiling plain (or painted).
Used in the right room with the right accents, vinyl, aluminum, Styrofoam, and tin ceiling tiles can add a stunning punch that’s different from the other rooms in your home!
Tin has been particularly popular because of the historical feel it carries. But are vintage tin ceiling tiles right for your home?
What Are Tin Ceiling Tiles Like?
Tin ceiling tiles were particularly popular in the Victorian era and the 1920s. Homeowners would install them in entertaining areas of the house. The kitchen was a common choice — to help protect the ceiling from the open flames used while cooking.
These days, tin ceiling tiles are more commonly found in business buildings, but some homeowners still enjoy using them to accent their homes. They’re most common in foyers, kitchens, and entertainment areas.

They provide an antique look that can be quite eye-catching, especially when paired with recessed ceilings and crown molding.
Keep in mind, you don’t necessarily need to use real tin – you can find faux alternatives that are affordable as well.
https://www.youtube.com/watch?v=0Rda8Aa5oBs
How Much Do Tin Ceiling Tiles Cost?
There are generally 2 types of tin or faux tin ceilings tiles:
- Ornate ceiling tiles are essentially metal sheets with a decorative pattern or motif stamped into them. These typically range from $5 to $17 per square foot.
- Plain ceiling tiles are actually sheets that have no patterns on them. These can cost as little as $2 per square foot.
https://youtu.be/OCDY9vA8rBk?t=8s
If you opt for faux tin ceiling tiles, you should know that your costs are bound to be lower than with the real thing. Ornate will still cost more than plain, but the faux type will be easier on your budget than real tin tiles.
My advice would be:
- If you’re choosing to use tin tiles because you’re restoring a home or building to an authentic state, then you might want to stick with authentic material.
- If you’re simply installing faux tin tiles for aesthetics alone, and you don’t mind that they aren’t the real thing — then have at it!

Steps For Installing Tin Ceiling Tiles
If installing the ceiling tile yourself seems like too much work, then hire a professional contractor to do the work for you.
For the most part, it’s a relatively simple job that you can probably do yourself:
#1 – Before installing tin ceiling tiles, you first need to have enough to fit the square footage you are covering. So measure carefully the length and width of the ceiling to determine the square footage. (You may need a friend to help you measure accurately.)
#2 – Once you know the square footage, you can order the proper number of tiles. I would recommend buying a few more than you need — in case you make any mistakes with cutting.
#3 – Measure a control line (a straight line at the halfway point of the ceiling).
#4 – Using duct tape on the back of your tiles, dry fit them around the ceiling to determine where you need to make any cuts — such as around light fixtures. Mark these carefully, then remove the tiles and make your cuts.
#5 – Using a paint roller, put cement on the back of the ceiling tiles.
#6 – Coat the ceiling with cement as well.
TIP: It may only take about 15 minutes for the cement to set! So you only have to wait a few short minutes to let the cement become tacky before applying the tiles.
#7 – Place tiles along your reference line first, then work outward.
#8 – Be sure to measure carefully and cut accurately any pieces that are too big to fit a certain space.
#9 – Make adjustments as necessary, and use decorative strips to cover any gaps.
#10 – Wipe the tiles dry, and you’re done with your tin ceiling installation!
See each of the above steps in action in this DIY tin ceiling video.

Things like tin roofing and tin ceiling tiles can make a dazzling feature for many homes and businesses. However, they might not be a perfect fit for every house.
Be sure to research the various options carefully before undertaking this DIY project — to make sure that the look of the tiles is really what you want and that it will complement your home’s overall style and decor.
More Tips For Installing Tin Ceiling Tiles
In addition to the links I’ve included above, here are some other resources to help you with tin ceiling installation:


