Do you have a bathroom vanity cabinet that needs to be renovated with a fresh coat of paint?
We certainly did.
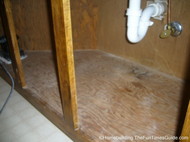
In fact, our cabinet wasn’t painted to begin with. It was just as the builder had left it many years ago with a honey oak stain and clear varnish to protect it. It looked dated — we decided that painting the bathroom vanity cabinet would put us one step closer to accomplishing our goal of completely renovating the secondary bathroom.
Here are some great tips for painting bathroom cabinets:
The improvements we made with the cabinet were well worth the effort, and the results speak for themselves.
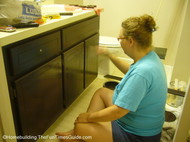
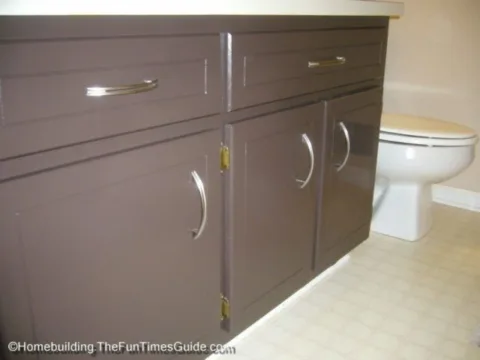
Changing the appearance of the bathroom vanity cabinet from an oak stain (Provincial by Porter Paints) to a dark brown paint color that resembles chocolate pudding was dramatic.
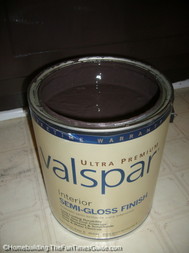
We were going for the cappuccino dark brown look and decided on a color that’s called Black Raisin by Valspar in a semi-gloss latex (available at Lowe’s). The sleek, satin nickel finish hardware (drawer pulls) that replaced the old gold-toned pulls made a huge difference, as well.
Funny thing about painting the cabinet…we had seriously considered gutting the cabinet in favor of a pedestal sink teamed with an over-the-toilet cabinet for storage.
It’s such a small bathroom that removing the cabinet seemed like a radical thing to do but would have made the bathroom seem larger.
Now that the cabinet is painted, we’ve agreed that painting it was the right thing to do.
How We Refinished The Bathroom Cabinet
#1 – Applied The First Coat Of Paint
- We began by removing all of the doors and sanding them to remove all traces of sheen.
- The paint needs to be able to adhere to the wood, so sanding the varnish off is a good start.
- We used a sponge sanding block with 2 different grits on each side — medium and fine. We used the medium grit first, then the fine grit to smooth it out.
- Once the varnish was removed to our satisfaction and the surface of the wood was relatively smooth to the touch, we began to apply the first coat of paint.
- We didn’t prime it at all.
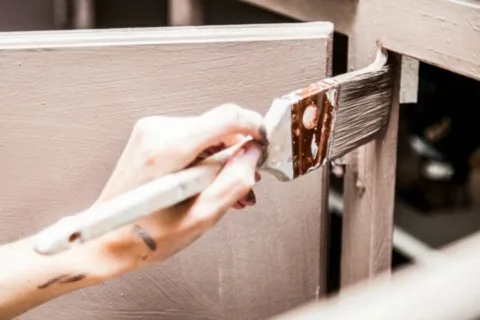
- We painted the interior and the exterior of the cabinet, as well as the exterior portion of the doors.
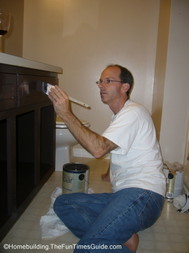
- We propped the cabinet doors up on pedestals — to let them dry just enough to allow us to put them back on the cabinets and paint the interior.
#2 – Applied The Second Coat Of Paint
- In the morning, we sanded all surfaces to remove any rough spots with the same fine grit side of the sponge sanding block. (The sanding block worked great and the paint looks super smooth.)
- We then put a second coat of the Black Raisin semi-gloss latex paint on all sides, including the interior of the cabinet.
- It was at this point that we decided that the old hardware had to go. We jumped in the car and picked out the handle pulls that you see in the top photo.
#3 – Installed New Cabinet Hardware
The new handle pulls required 2 holes to attach them. Our old pulls were attached through a single hole. This meant that I had to precisely measure and drill an additional hole since they would be positioned vertically.
Here’s how that part of the project went:
- It was a little bit nerve-racking because a great deal of effort had gone into the cabinets to that point. (Any mistake in drilling a hole in the wrong spot would have meant wood putty and some re-painting.)
- Luckily, all went exactly as planned and not a single hole was out of place. Actually, there was no luck involved — just pure skill (insert laughter here).
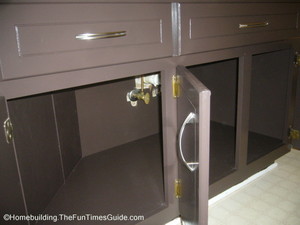
- The upper panels are fake, meaning that they are stationary panels. Having cabinet hardware on all of the panels balances it out, and we agreed that is was worth a few extra dollars for the look we were after.
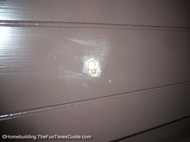
- You see in one of the photos that I had to repair a hole with wood putty. That was due to the old handle pull only requiring one hole that was dead center, and the new pull which needed 2 new holes in order to center it (horizontally) on the panel.
All that was left to do was a little bit of touch-up and we had a brand new cabinet — or so it would seem.
I should mention that we were fairly lucky that we had a good base to start with. The cabinet (original to the house) was constructed using real wood throughout — no wood fronts or veneers.
I would highly suggest painting the interior of the cabinet (walls and all) for a professional, finished appearance.
Painting The Bathroom Vanity Cabinet Was Actually Fun!
If you’re thinking about refinishing some cabinets in your house, it’s easier than you might think.
The steps are easy, the work required to accomplish great results are worth the effort — so take your time and do it right.
We broke a rule by not priming, but the results were outstanding, nonetheless, due to the time and energy put into sanding.
Big thanks to my wife, Sandy, for leading the charge on this project and to our good friend, Julie, for volunteering a few hours to help prep the cabinet and prime the walls of the bathroom.

