We recently completed removing old wallpaper and painting our master bathroom. 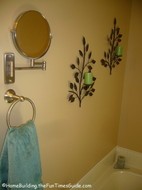 Preparing the walls of our bathroom to paint and caulk was the hard part although the most important. Painting and caulking, to me, is the fun and easy part of this DIY home project in comparison to what it took to get to this point.
The best part of the whole ordeal is knowing that the final product looks as good, or better, than as if a professional had done the job and we saved ourselves a decent some of money in the process.
Here’s how we did it.
But first, here are the links to the other related posts, as a review of what we’ve done to prepare the walls for painting:
First, we removed the old wallpaper.
Next, we repaired the walls by spackling and sanding them smooth (and primed).
Now we paint and caulk.
Back to Painting Basics
I have a decent collection of nifty little painting tools/gadgets that I’ve acquired over the years that are designed to speed things along and/or keep me from coloring outside of the lines that I did not use for this project. I basically simplified my life this go round and went old school by only using a 2 inch angled brush with a hand held paint container and a 3/8 inch nap roller w/tray. Add some blue painters’ tape to the list and that is all I needed and should be all you really need for a DIY painting project similar to mine.
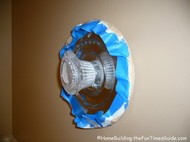
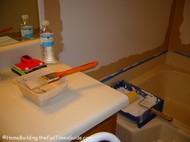
First, I tape off all adjacent areas that I don’t want to paint, like the baseboards, etc., and tape up any fixtures. I also remove wall plates and registers. It takes a little extra time upfront but saves time in the long run because it speeds up the border painting tremendously and you get that professional result. I do not tape off where the ceiling meets the wall because we have textured ceilings (hate ’em) so I take my time and paint as straight of a line as possible with a steady hand. (I taped off everything before I primed the walls and left it in place until after the paint was on the walls.)
Don’t forget the drop cloths!
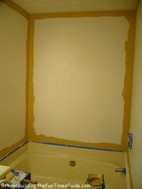
The 2 inch angled bristle brush, for me, is the best interior paint brush for all of the different angles, corners and ceiling borderline. Once the borders and niches are painted on a wall, or two, I start filling in with the roller (my favorite part because progress is quick to come).
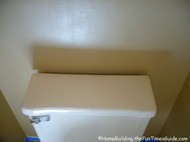
I know you won’t forget to remove the toilet tank to paint behind it, as a professional would, now would you?
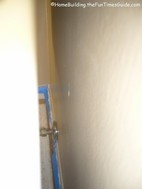
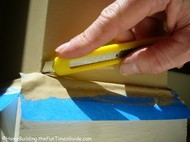
I let the paint dry prior to removing the painters tape. If it’s wet and you get it on the wall as you are removing the tape you’ll create more work for yourself. You’ll end up with paint all over yourself in the process. Once dry, I take my knife and score along the edge while slowly pulling the tape off. There you have it…a beautiful, neat edge. Remove all other taped surfaces.
Caulking Basics
Tape on both sides where the caulk bead is to be applied leaving a small ‘highway’ for you to smooth out the bead on. You don’t need to do that but it really gives it that professional touch after you see the result when the tape is removed. Read the directions on the tube. Nip off the tip at an angle at the desired bead diameter. Stick a thin metal rod inside the nipped tip to allow the caulk to flow freely. My caulk gun has a built in nipper and metal rod attached so I never have to hunt down anymore tools. Place the tube in the gun with the longest nipped edge closest to you so the caulk gets pushed into the crevice.
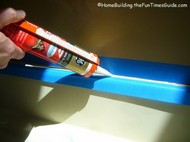
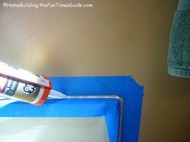
Pump the trigger a few times, when ready, and pull the caulk gun along nice and steady leaving a nice thin bead. Get a small bowl of water and dip your ‘smoothing finger’ in the water. Press you finger into the caulk and glide along. Nothing to it.
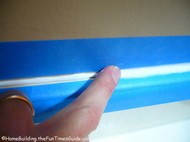
Others may advise you to push the caulk gun rather than pull so it pushes the caulk into the crevice but that doesn’t work for me because I can’t see what I’m doing or how much caulk is coming out. Smoothing it afterward takes care of the crevice anyway.
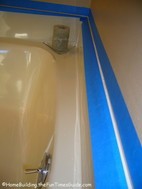
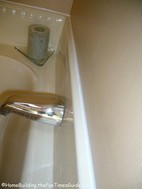
Remove the tape immediately and have a look.
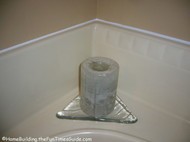
Replace all of the wall plates and registers, etc. Beautifully done, eh!
Next project, please…
Related
More great painting tips for ceilings, walls, windows, decks and doors from The Rohm and Haas Paint Quality Institute.
Don’t run out of paint mid-project. Use this paint calculator to buy the right amount without waste.
Be sure to choose the correct sheen for your paint project.


