This is the final installment of how we installed our free standing gas range.
First, I had to tap into my existing gas supply line in the basement because our former range was electric and there was not a gas valve behind the oven.
Second, I had to cut away part of the counter to make room for the free standing range — because previously we had a drop-in electric model that was suspended on the counter on the sides and back.
Now, for the final piece of the puzzle, we had to convert the 220-volt hard-wired connection into a standard 110-volt plug and receive the Kenmore range we picked out.
Unfortunately, I had a few setbacks while installing a gas range myself.
Converting The 220-Volt Connection Into A 110-Volt Plug
I’m not an electrician, nor am I entirely comfortable dealing with electricity. While I’m capable of some basic electrical work around the house, I wasn’t about to convert the 220V hard-wired connection into a standard 110V plug when installing a gas range.
I hired Mr. Electric to come out and take care of that for me. It was a pricey affair but it had to be done — and be done right.
Mr. Electric had flat rate pricing so Allen (the electrician) showed me their price guide. It looked like it would cost around $268 — or $228 with member pricing (or what they call their customer protection plan).
I decided to also have him install a whole house surge arrester (to protect all electronics in the house) while he was there.
I paid $89 for the membership (good for discounted pricing for 1 year) and paid an additional $206 for the surge arrester — that pretty much paid for the membership price.
I’ve got a few things I want to do electrically around the house, so I’ll be sure to get that done within the year (hopefully) — to get the discounted rate.
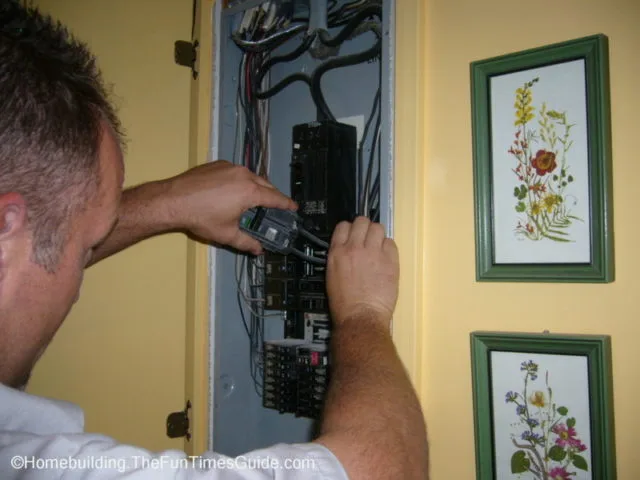
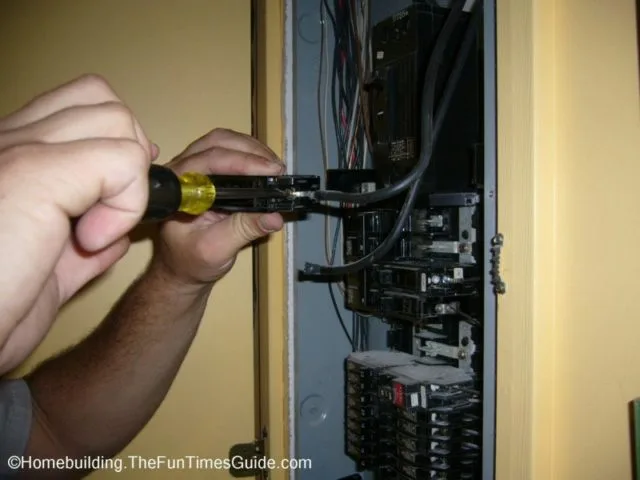
Allen got started and made his way to the electric panel (aka breaker box) in the basement and promptly replaced the 50 amp breaker with a 20 amp breaker.
He told me that most of the time when a 220V range is hooked up, he’ll find a 40 amp breaker down in the panel. But for some reason we had a 50 amp fuse and the wiring was only designed for a 40 amp fuse — which was killing the new plug. That’s not such a good thing considering our previous electric range was hooked up to it. Luckily, we never had a problem!
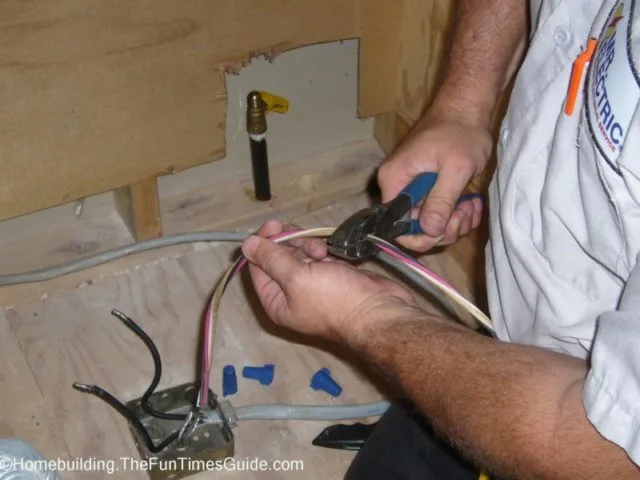
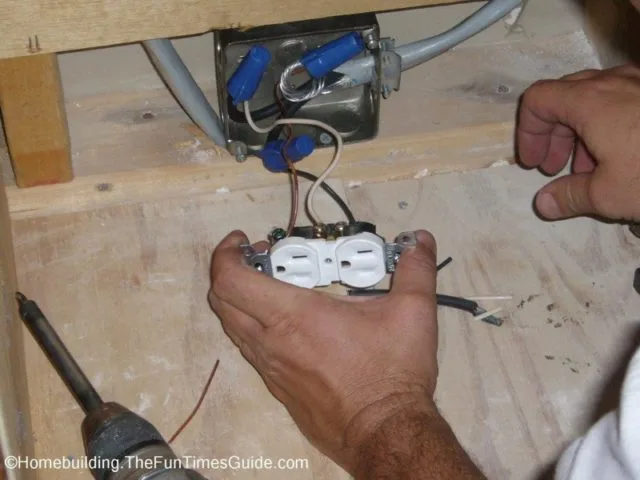
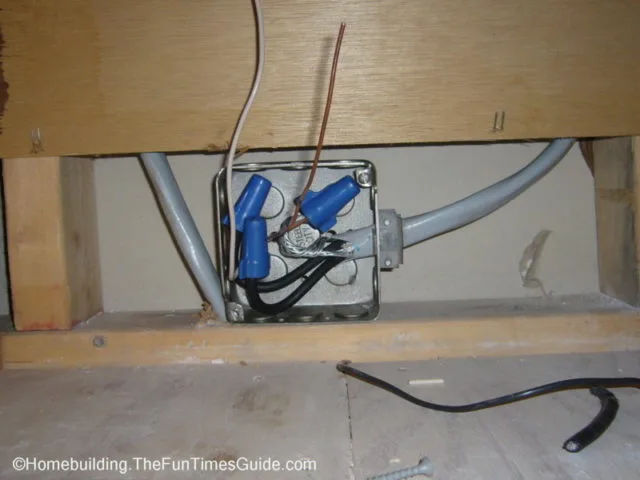
He went upstairs and dismantled the hard-wired connection to the old electric range and converted it into a standard 110V plug that the new range would plug into. He asked me exactly where I wanted to have the new plug secured behind the range.
I never knew how intricate of a job installing a gas range would turn out to be.
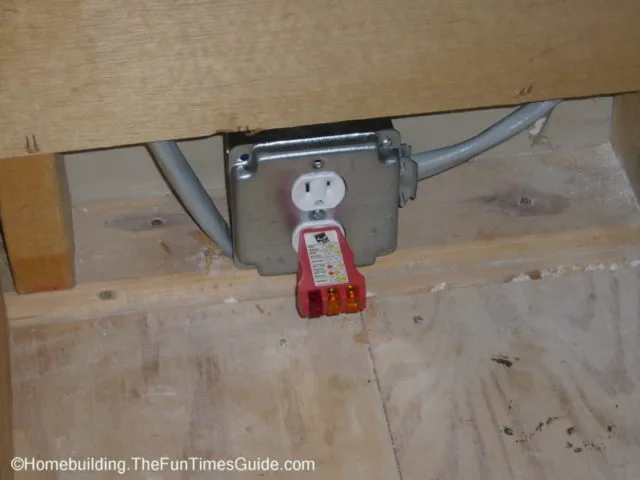
He tested the circuit for proper ground and polarity and he was done. It only took about 30 to 45 minutes. (But… this was just the beginning.)
Here’s some information about why we chose a natural gas range over an electric range.
Taking Delivery Of Our New Kenmore Gas Range
Sears pulled up on delivery day and 3 guys brought in the new range. This was no easy feat — due to the stairs that lead up to our front door.
The guy who was going to actually connect the gas to the range informed me that the valve (that I installed) was the wrong type.
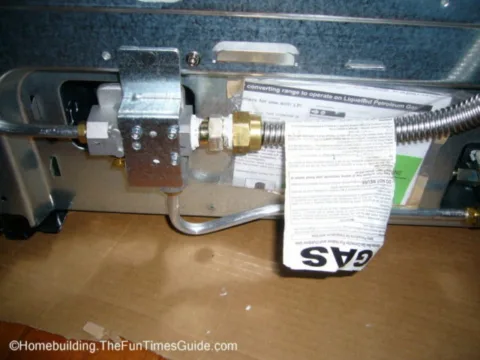
Here you can see the dryer valve (left) and gas range valve (right):
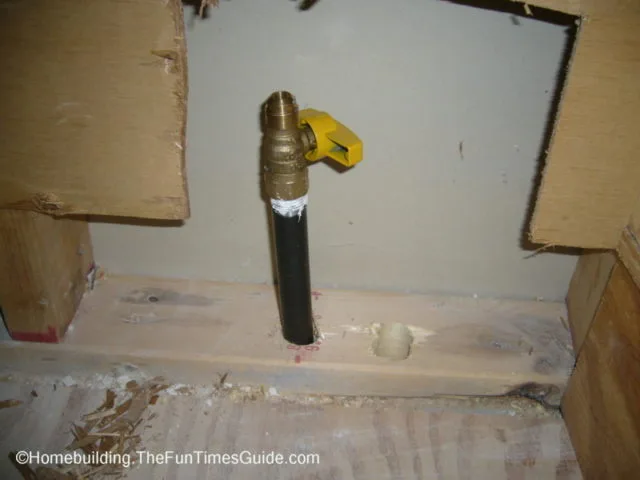
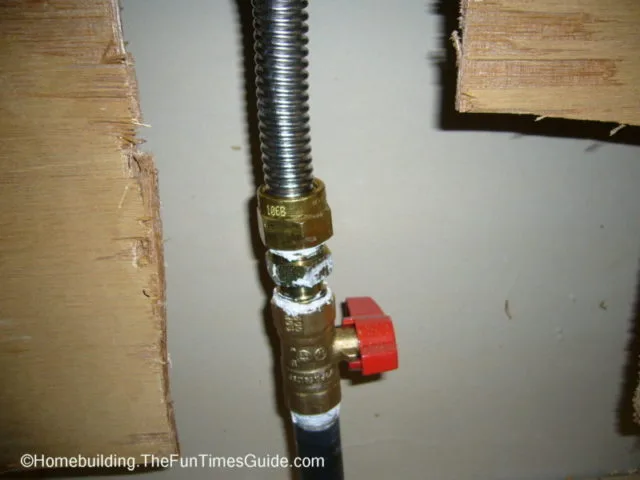
He told me that what I’d installed was a dryer valve and not a range valve. That was Setback #1!
The only thing they could do now was level the range for me and leave. They weren’t allowed to hook it up — since the valve was not the right type.
I was a little steamed because the valve I picked up at Home Depot was approved by the associate that worked in the gas pipe aisle, and I thought was giving me flawless advice.
The Difference Between A Gas Range Valve And A Dryer Valve
The dryer valve reduces the inside diameter of the pipe about an 1/8″ — thus reducing the proper amount of gas needed for the range, should you ever want to EFFECTIVELY cook with all 4 burners going and use the oven simultaneously.
I headed back to the Depot and discovered that they didn’t have the valve I needed. So I drove a 1/2 mile down the road to Lowe’s and got a perfect match — a gas range valve.
When I got back home, I turned off the gas to the house and promptly replaced the dryer valve with the correct one.
TIP: Don’t forget to use pipe joint compound (type T2) at each and every connection on the male threads only!
My project came to an abrupt halt because apparently the Sears guy only left behind one of the 2 connectors that came with the range. That was Setback #2.
Seriously, this installing a gas range thing was becoming a real nuisance!
TIP: See Bob’s comment below regarding the use of pipe dope/teflon tape on the flare threads of the flexible line connectors. I did it wrong.
The Layout Of Your Kitchen Matters
So I went back to Lowe’s and got the part that should’ve come with the range to begin with! Then I went back home and finally I was able to get the darn thing hooked up. YEA!
We slid the new range back in position, and I turned the gas back on. We had a flame!
Our kitchen is small but it’s set up efficiently (the stove, sink, and refrigerator form a triangle). We’ve always said that our house is 2 feet too small in every direction.
In this case, it’s about 2 inches too small because I quickly discovered that we weren’t able to fully open the dishwasher door — due to the oven door handle on the new range sticking out further than our old range. That was Setback #3.
So then I was forced to cut away the part of the counter behind the range that extended 4 inches up the backsplash. Then I pushed the range back just far enough to make it all work.
We had plans for a new counter (since it looked kind of ugly) and we’ve just been dealing with it. Besides, no one can see what’s behind the range anyway!
Preventing Problems With Combustion Equipment
Be sure to use a properly sized range hood fan if you use a gas stove.
Here’s a little more to consider before installing a gas range:
“All kitchens should have exhaust ventilation to remove odors and excess moisture associated with cooking. While there are various ventilation strategies for kitchens, a range hood is the most common. When using a gas range, a range hood directly vented to the outside should be used to capture the combustion products. These range hoods should be sized correctly. For a typical kitchen range the American Society of Heating, Refrigerating and Air-Conditioning Engineers (ASHRAE) and the Home Ventilation Institute (HVI) recommend 100 cfm. Larger fans may need to have makeup air provided to avoid excessively depressurizing the house, causing backdrafting or other problems.
After installation of combustion and/or ventilation equipment, combustion equipment should be tested to be sure that it functions properly.
It is important that your installer conducts a worst-case depressurization test. This combustion safety test determines if any non-sealed combustion appliances will backdraft or spill combustion products into the living space. Tell your installer this test should use an established procedure such as Appendix D of the International Fuel and Gas Code or ASTM E1998 “Guide for Assessing Backdrafting and Spillage from Vented Combustion Appliances.”
– EPA
Before You Get Started…
Keep in mind… I am not a licensed plumber and this is not a how-to website. I’m simply sharing my experience with installing a gas range with the hope that others can benefit in some way.
Ask advice from professionals before considering this type of project yourself, and then add my practical experience for good measure.
This is not a project to be taken lightly. If you have any reservations about attempting this type of project, call a professional to handle it for you.
If you choose to follow the methods I’ve shown here, then do so at your own risk.
The information in this article assumes that you have natural gas previously available in your home.

