Articles Tagged:
DIY


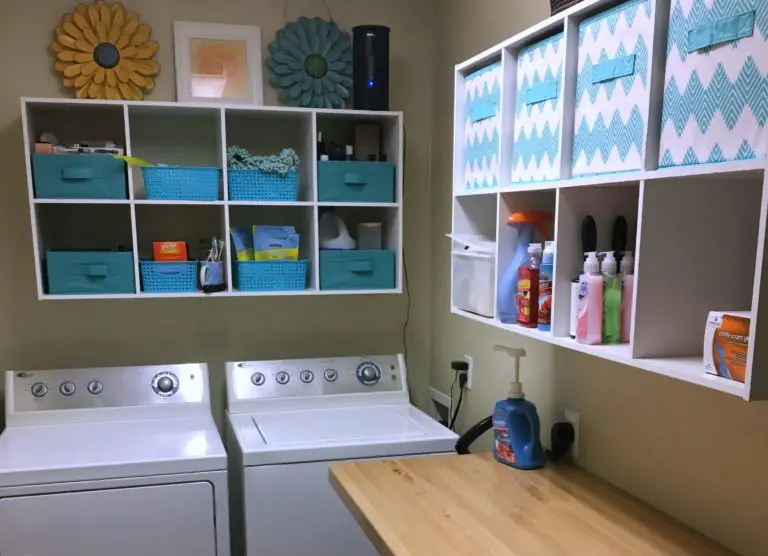
I wanted to create a HAPPY laundry room! My new laundry room is 5'x9.5', has a great washer/dryer configuration, lots of storage for cleaning items, a place to hang freshly laundered clothes, a big table to fold clothes, and music! See before & after photos, plus details of how we tackled our DIY laundry room makeover.