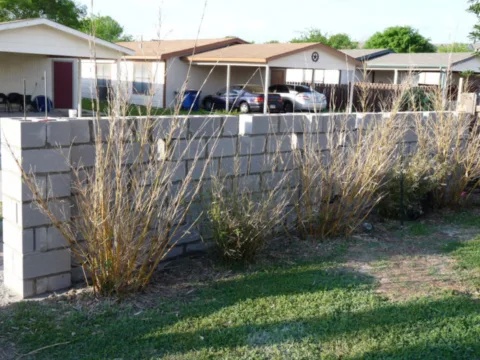
Concrete cinder block walls are sturdy and easy to build, but they can often be unattractive when compared with the rest of your home.
On many homes, the entire basement or crawlspace remains unfinished with the cinder block showing.
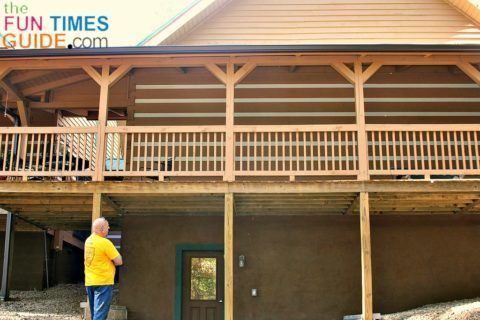
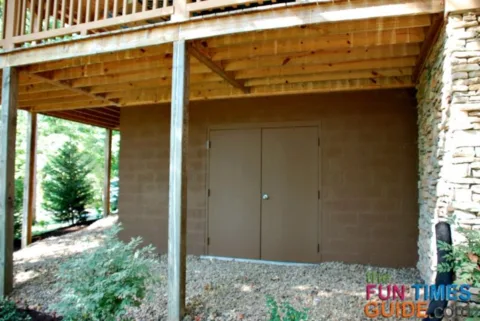
By covering a cinder block wall with surface bonding cement, you can increase the water resistance of the wall as well as the durability while creating a uniform surface that will blend with most architectural styles.
Many people think that stucco should be used on a cinder block wall. However, surface bonding cement is actually best.
A good surface bonding cement will contain fiberglass as well as acrylic to further enhance the strength and flexibility of the product. These additives also make surface bonding cement easier to work with for first-time users.
First, Prep The Cinder Block Wall
When covering a cinder block wall, here’s how to prep the wall for bonding cement:
- Clean the cinder block wall thoroughly and repair any cracks.
- Soak the concrete cinder block wall thoroughly with a hose
to help the surface bonding cement adhere.
- Wet a portion of the wall that you’ll be able to cover within 10 minutes and work on that section.
- Wet and apply the surface bonding cement as you go, to prevent cracking.
Then, Apply The Surface Bonding Cement
To start, mix enough surface bonding cement to cover about 20 feet of the concrete cinder block wall according to the manufacturer’s instructions. Apply onto the moistened wall using a square trowel with small upward strokes.
TIP: Plan on applying thinly: a depth of 1/8″ is best for this type of work. Take your time to make sure that the surface is as smooth as possible.
After a single section of your concrete cinder block wall is covered, use a new, wet trowel to further smooth the surface of the cement.
Continue working the surface bonding cement until the desired texture is reached.
Then move on to the next section of wall until the wall is complete.
Here’s A Cure For Cracking
Covering a cinder block wall with surface bonding cement can cause some cracking.
For this reason, you should plan on using a groover to cut vertical lines in the cement to prevent any random cracks.
Control joints, as these vertical lines are called, should be cut to a 1:2 height to length ratio — although extra control joints can be added for design purposes.
It’s A Great DIY Project!
This project is a great way to protect the durability of your cinder block wall while enhancing the overall appearance of your backyard.
It’s a good project for a homeowner who is patient and willing to work carefully and methodically.
Everyone else should contact a professional to complete the job for you.
Other Ways To Hide A Cinder Block Wall
In addition to the links I’ve included above, here are some other tips for covering a cinder block wall:

