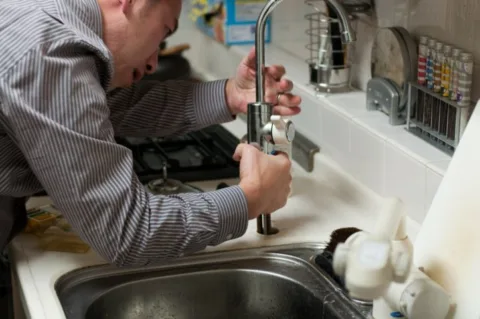
Fixing a broken kitchen sprayer hose is within the skill set of most homeowners.
All that is needed is an adjustable wrench, some plumber’s tape
, and replacement parts for your particular kitchen sink sprayer
.

Step-By-Step Tips To Fix A Broken Kitchen Sprayer
The fix required for your kitchen sink sprayer will depend on where the leak or problem lies. If the leak is occurring between the seams of the sprayer nozzle, a faulty gasket within the spray assembly could be to blame.
Step 1 – Take It Apart
Unscrew the spray hose nozzle and replace the gasket within the nozzle. You should be able to take the faulty gasket to any hardware store and get a replacement for less than a dollar.
If that doesn’t work…
Step 2 – Is Tape The Answer?
Plumber’s tape is another fix that doesn’t require replacing the entire spray hose assembly is if the leak is occurring where it connects to the water supply. Unscrew the connection where the leak occurs and clean it thoroughly. Cover the threads of the spray hose with plumber’s tape and reattach the connection.
And if that doesn’t work…
Step 3 – Replace The Darn Thing
If either of these fixes don’t repair the problem, or the leak is coming from elsewhere, it is best to replace the entire fixture.
Here’s how to replace the kitchen sink sprayer:
- Start by turning off the water supply valve that is located underneath the sink. Then run your kitchen faucet to remove as much water as possible from the sink supply line.
- Next remove the hose water supply line from the faucet assembly. Then pull upwards and remove and discard the old spray hose.
- To replace with the new spray hose assembly, begin by threading the line through the existing hole near the faucet.
- Using plumber’s tape on the threads of the connection, attach the new spray hose to the water supply nut.
- Attach the new sprayer to the other end of the hose. If the existing sprayer was in good condition you could consider using it instead.
- When all of the pieces of the spray hose assembly are in place, turn on the shut off valve.
- Then turn on the faucet and use the kitchen sprayer, checking for leaks at the connections and making any necessary adjustments.
You’ve Conquered This Simple Plumbing Repair, So…
Although working with plumbing can be intimidating for homeowners with little experience, replacing your kitchen sink sprayer can be a great way to gain the skills and confidence to tackle a large project.
Keep in mind, however, that if you don’t have the patience to complete this task carefully, you’d be better off contacting a plumber.
I have a lot of hands-on experience in the home construction industry, with a good deal of experience in sustainable building. I’m mostly interested in home restoration and home renovations.


