We have been slowly doing home improvement projects around our house since we closed on the property.
One of our first projects on the to-do list was to create a happy laundry room. Yes, a laundry room which inspires one to want to “happily” do laundry (…maybe even with a little dancing involved).
 We wanted our laundry room to have:
- a good washer/dryer configuration
- lots of storage for household cleaning items
- a place to hang freshly laundered clothes
- a big table area to fold clothes
- some music
My father-in-law is always willing to help tackle any of our DIY home projects. He is always happy to bring his tools and skill set in exchange for food and donuts. We are so blessed to have him as a DIY resource. He is a plethora of knowledge in almost any area I can possibly think of. And he has a real passion for home improvement projects — especially when it comes to improving a member of his family’s life.
My *Unhappy* Laundry Room: Before
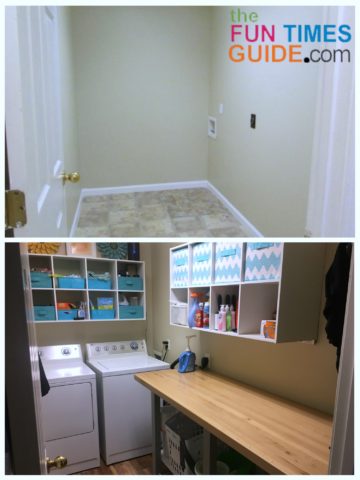
As you can see in the above photo, our laundry room was pretty much a blank canvas!
We had a good size to work with — the room measures approximately 5 x 9.5 feet.
The paint color was already a neutral cappuccino color and appeared to be somewhat freshly painted, so we decided to keep the wall color.
The flooring was linoleum which I really didn’t care for, so we ended up covering it with a floating, locking luxury vinyl floor in blue ridge pine. The flooring is waterproof and will not swell when exposed to moisture — unlike laminate flooring.
TIP: Not only do I love the look and feel of the new floor, but you can use this type of flooring to cover almost any surface with minimal prep work! Because of the previous linoleum that was there, we weren’t required to lay down a vapor barrier first.
My husband installed the floor himself and did an amazing job!
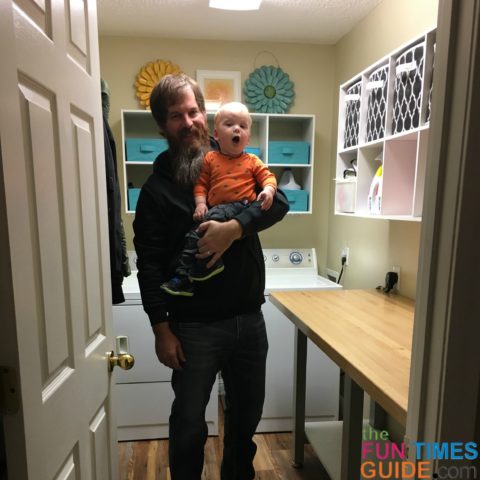
My *Happy* Laundry Room Makeover: After
The existing baseboards were damaged during the removal process (as seen in the photo above) — so my husband replaced them with new, taller baseboards to give the room a finished look.
The original washer and dryer configuration was not good in terms of maximizing the use of space and efficiency. For example, the washer/dryer hookups were on the long side of the wall to the right when you walked in — basically rendering the laundry workflow to a tight and cramped space. It was not very inviting or inspiring for a MaMa who spends a lot of time doing laundry!
My father-in-law devised a plan to basically re-vent the dryer to the short wall and re-situate the washer and dryer on that wall (straight ahead as you walk into the laundry room). Here’s how:
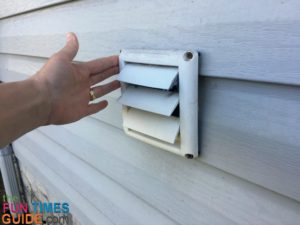
- We cut a new hole straight through the exterior of the house
- Then, we re-used and re-homed the old dryer exhaust hood.
- We closed and patched the old exhaust hole with some foam insulation, caulking, and a small piece of matching leftover siding that the previous homeowner had left us.

- Next, we added an extended power supply plug — long enough to power the dryer without having to rework the electrical portion of the washer/dryer reconfiguration.
- The washer had long enough hoses to reach the existing hookups — so it was as simple as turning the washer 90 degrees to back it up against the short wall.
Since we are not fans of front-loading washing machines, our top load machine worked great for this configuration.
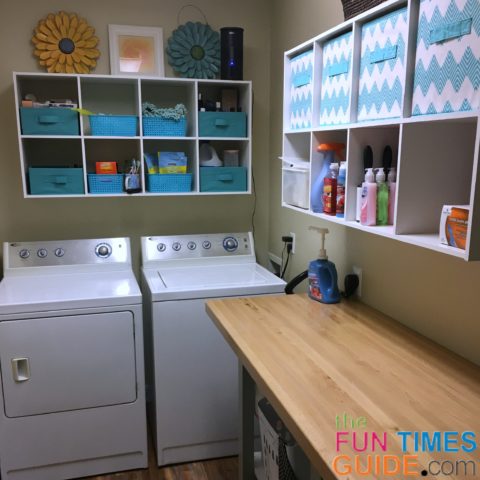
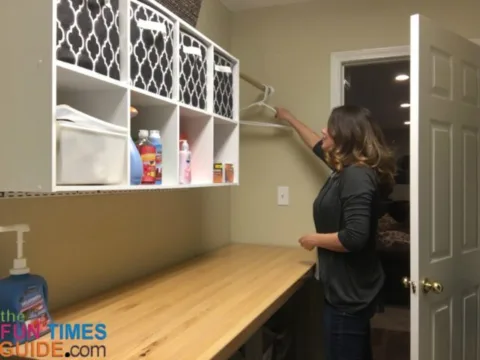
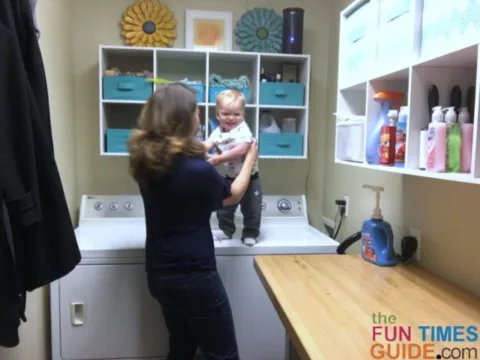
With the dryer to the left and the washer to the right, I had room to place a nice work table on the long wall in front of the washer. For my laundry folding table, my father-in-law sold us this amazing wood top work table which he bought from Sam’s Club, but no longer needed.
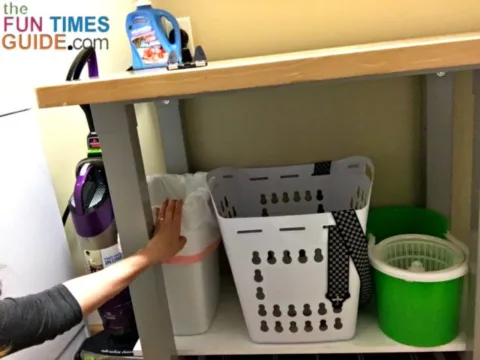
There is an additional bottom shelf below the folding table that he added too — which I use to store an extra laundry basket, the trash can, mop bucket, collapsible drying rack, etc.
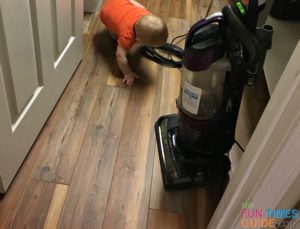
I even have some space in between the washer and the table to store the vacuum.
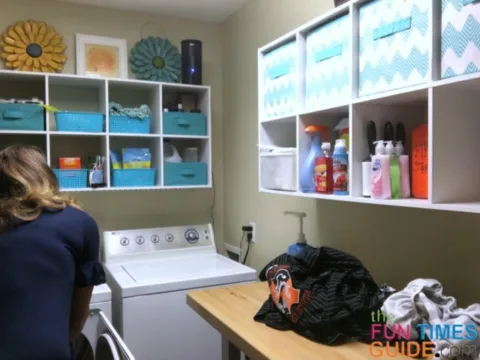
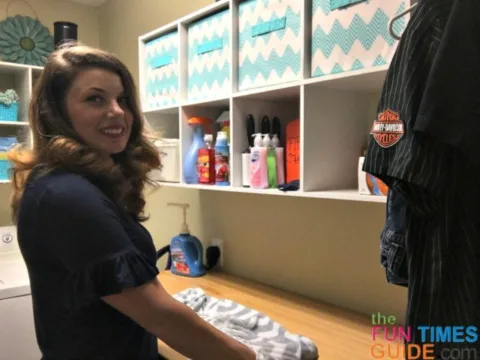
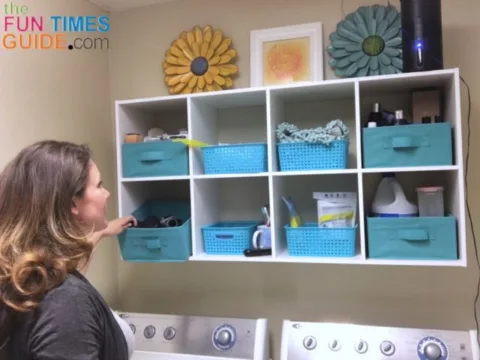
For additional storage, we added two 8-cube storage shelves. We placed one organizer above the washer/dryer and one above the folding table.
I assembled the cubes, but my husband and father-in-law get all the credit for hanging them. They used 2 double track brackets for each cube cubby — which were drilled directly into the studs and into the tops and bottoms of the cubes to securely anchor them to the wall.
I filled some of the cubbies with collapsible fabric storage cubes (some full cubes and some half cubes).
I use the full cubes to hold the extra bedding for our bed and the guest bed. The full cubes fit a king sheet set or an extra guest room duvet cover when folded neatly. We do triple sheeting on our bed, but I still use a duvet cover on the guest bed. This makes bed sheet changing day super easy — since I always have the extra sets clean and ready to use!
I use the other cubbies for my household cleaning and laundry products — such as the vacuum attachments, Swiffer refills, Febreze, Pledge, glass cleaner, paper towels, etc. Plus, some first aid items, additional hand soap, personal products, and toiletries.
All of the extra storage has been wonderful to have — because it keeps everything organized. And since it’s all at eye level, it is easy to see what I have and what I need more of.
My husband and father-in-law also installed a rod to hang clothes while fresh out of the dryer (which helps to eliminate wrinkles). They used cast iron shelf brackets to mount the round wood poplar dowel rod cut to size.
I like to keep hangers readily available in the laundry room at all times. I simply hang the clothes fresh out of the dryer on hangers and then carry them to our closet.
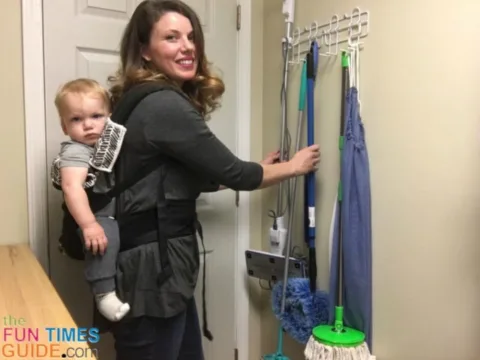
I installed a steel broom and mop holder behind the laundry room door to hang and hide all my floor cleaning tools — like the Swiffer, mop, steam mop, fan duster, etc.
To utilize all of the space that was available to us in our new laundry room, we also hung up a wooden coat rack that we had moved from our old house. It works perfect — because our laundry room is immediately to the left after entering our house from the garage. So we use this coat rack to hang the seasonal coats that we often wear.
To complete the blissful laundry experience, I added an Audio Unlimited wireless speaker — to stream whatever music or audio I am inspired to listen to during the day.
I actually created a multi-room sound system by adding a few other wireless speakers in various rooms of the house. I really love having the freedom to listen to the music streaming throughout the house!
The Bottom Line…
Laundry is a fact of life and can be easy to dread. So I choose, instead, to be thankful for an amazing laundry room which allows me to provide clean clothes for my family.
I try to make it fun for my baby too by having him help with the household chores. Sometimes, we will even have a dance party in the laundry room — just because we can!
I am super pleased with the way our DIY laundry room makeover turned out. Hopefully it will get your creative juices flowing when it comes to re-working the laundry space you already have.

