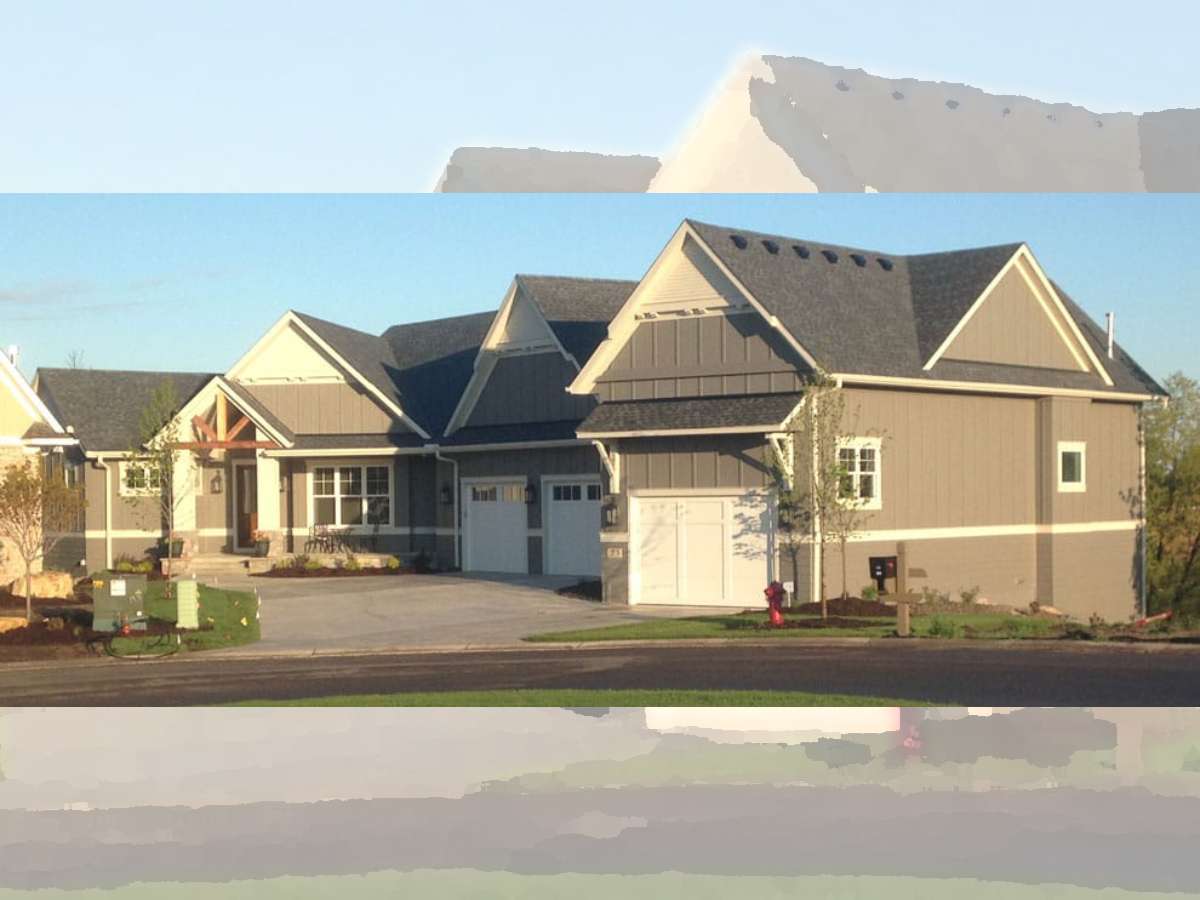
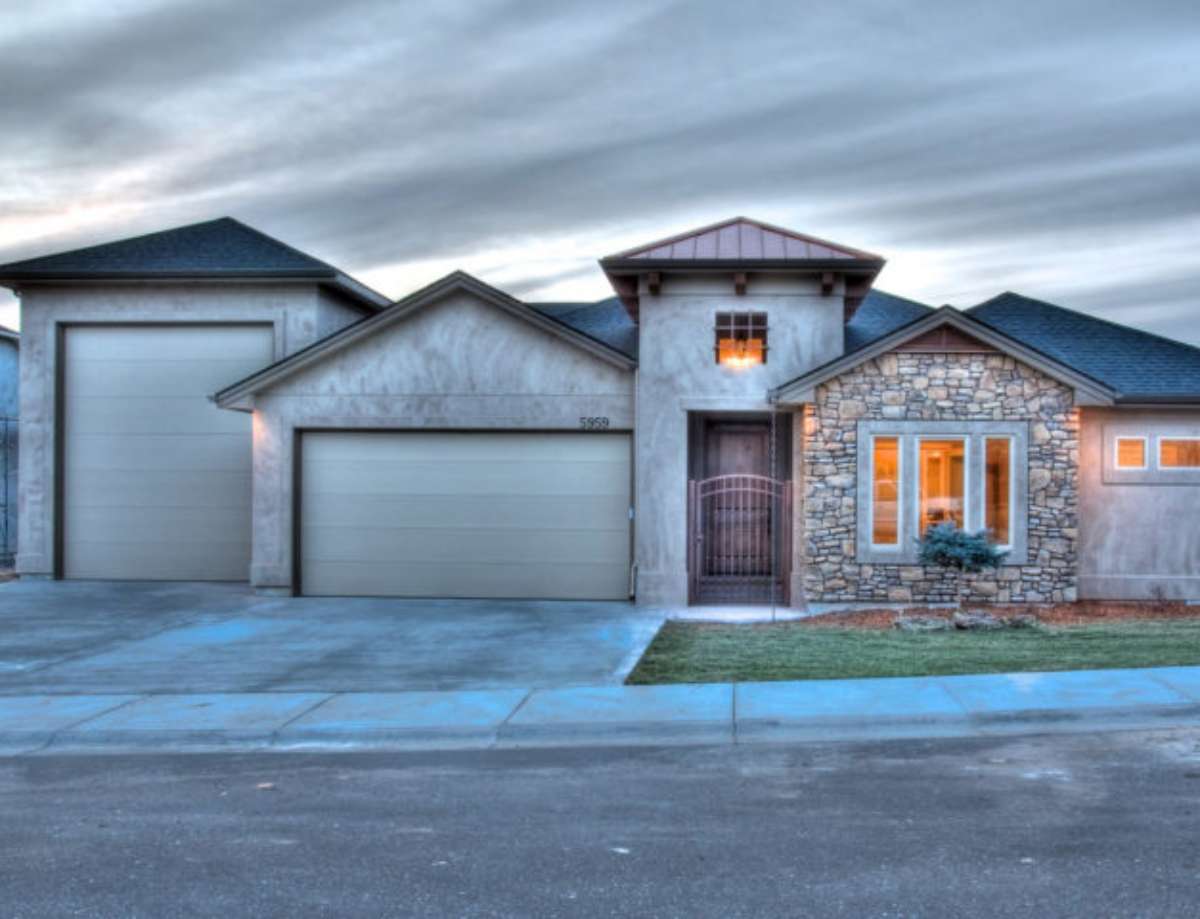
Curb appeal is one of the most important parts of your home — because how your house looks from the outside plays a major role in how well it holds its value (and how quickly it will sell, if and when you ever move).
Thankfully, a number of enhancements to your home’s exterior can be done fairly easily, and nearly all of them can be done yourself to save money.
If you’re looking for DIY curb appeal ideas, these 5 outdoor home improvement projects will have your home looking great in no time — and you’ll save over $3,000 in professional fees by doing them all yourself!
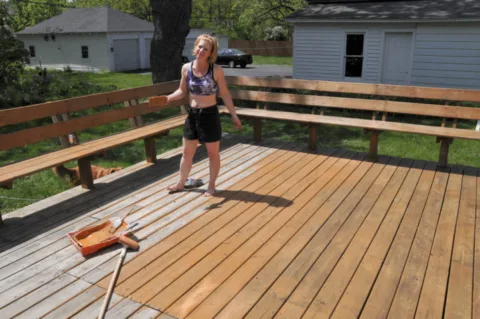
#1 – Stain The Deck
Reasons to stain your deck
Deck stain wears away over time — especially in high-traffic areas — so it’s recommended that you apply a fresh coat every other year. You might want to apply a clear sealer (or a clear water repellent) in between stainings for extra protection against moisture (but not UV rays).
Staining a deck protects it from sun damage and water damage.
If your wood deck boards are discolored and warped, then you know that you’re overdue on staining the deck.
Staining the deck is a relatively easy DIY project. The hardest part is the time and patience required to stain each of the spindles on the railing.
Cost to stain a deck
- The average cost to stain a 200-square-foot deck professionally is $577.
- Doing this home improvement project yourself costs about $265.
- DIY SAVINGS: $312!
DIY tips
- Powerwash your deck a day or two before staining it, then let it dry. Make sure the wood is 100% dry before applying the stain to help get the best seal and protection.
- Replace any warped deck boards, and fix any loose screws.
- Deck stain is tinted to provide color as well as UV protection. There are 3 types of deck stain: toner (the lightest amount of color), semi-transparent (some wood grain shows through), and solid (no wood grain shows through). It’s usually recommended to use a semi-transparent deck stain.
- By the way, stain is different than paint because stain soaks into the wood and will not chip or peel like paint.
- Start at an inside corner and work outward, applying the stain parallel to the deck boards.
- To avoid staining the brick on your house, place a piece of cardboard between the deck and the brick — as a shield.
- Additional coats of stain should be applied while the first coat is still wet or they will not absorb into the wood properly.
This 700-sq.-ft. deck required about 5 gallons of stain — almost twice as much as the estimates indicated on the can. Old wood can get thirsty. On some decks, I’ll need to apply 2 or 3 coats of stain in order to get a uniform finish. Source
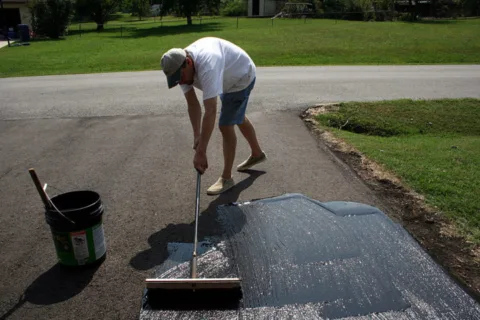
#2 – Seal The Driveway
Reasons to seal your driveway
An asphalt driveway should be sealed about 6 to 8 months after installation, and then again every 2 to 4 years.
If you wait too long in between sealings, an asphalt driveway can develop cracks. Over time, those cracks can eventually develop into potholes that can damage your car and cause the driveway to look pitted.
Sealing the driveway will heal the cracks and give your driveway a fresh, new look. It’s a super simple DIY job that can be completed in very little time.
Cost to seal a driveway
- The average cost to seal a 15×50-foot driveway professionally is around $350.
- Doing this home improvement project yourself costs about $200.
- DIY SAVINGS: $150!
DIY tips
- Pull all of the weeds out of your driveway first.
- Use a push broom to remove dirt, sand, and small rocks from the surface.
- Patch all cracks and holes in the asphalt. You’ll need to use a combination of a patching compound for small cracks and cold blacktop patch for deeper potholes.
- Clean up oil spots with an asphalt cleaner that’s specifically designed to remove oil stains.
- Wear shoes that you don’t mind throwing away (or wrap plastic bags around your shoes) and wear gloves to keep the chemicals off your skin.
- You want the asphalt to be damp for the first application of sealant.
- There are 2 types of seal coats to choose from: coal tar emulsion and asphalt emulsion.
- Apply 2 thin coats of the sealer — the first coat in long, horizontal stripes down the driveway and the second coat in vertical stripes (6 to 12 hours later, after the first coat has dried).
- Wait at least 24 hours after the second coat has been applied before walking or driving on your driveway.
Humidity isn’t an issue when sealing an asphalt driveway — in fact, you’ll want the asphalt to be damp when you seal it — but precipitation and low temperatures will endanger the crisp, clean results you desire. Make sure the temperature will stay above 45 degrees (preferably warmer) for a few days after you seal the driveway, and be sure no rain is expected for 3 days after you complete the project. Source
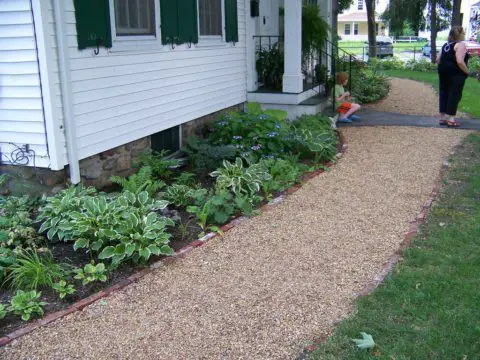
#3 – Create A Gravel Walkway
Reasons to create a gravel walkway
If you don’t have a sidewalk in front of your house, then adding one will enhance your home’s curb appeal.
Or maybe you simply want to add some paths for walking through your garden or landscaping.
A gravel walkway is an attractive option that’s fairly easy to install yourself. And gravel is a wise choice because is relatively low-cost compared to the cost of bricks, pavers, or flagstone.
Cost to create a gravel walkway
- The average cost to create an 800-foot gravel walkway professionally is around $1,378.
- Doing this home improvement project yourself costs about $442.
- DIY SAVINGS: $936!
DIY tips
- Make sure that the area you are applying the gravel to is level, or at least graded to a fairly smooth surface.
- Till the ground and remove any vegetation before beginning, then tamp down the dirt for a smoother walkway.
- Excavate the path area to a depth of 2 to 4 inches.
- The walkway should be covered by at least an inch-and-a-half of gravel.
A gravel path looks relatively rustic, and works best for light to moderate foot traffic rather than heavy usage; gravel is not a good choice on a steep slope (unless the pathway is terraced to hold the gravel in place) or if snow has to shoveled off it in winter. Source
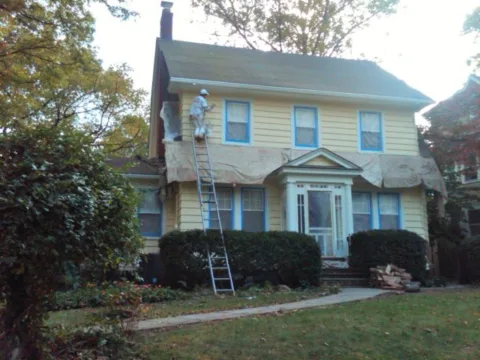
#4 – Paint The Vinyl Siding
Reasons to paint your vinyl siding
Vinyl siding fades over time, as the sun slowly bleaches it — so a fresh coat of paint will make it look new again. (Typically, homes need to be re-painted every 5 to 7 years.)
Or, you may just want to paint your house a different color for a fresh new look.
While painting the siding yourself can be a big job, it can also save you a lot of money if you tackle it as a DIY project.
Cost to paint vinyl siding
- The average cost to paint vinyl siding on a 1,500 square foot home is between $2,035 and $2,750 for a professional painting job — for an average cost of $2,392.
- Doing this home improvement project yourself costs around $500.
- DIY SAVINGS: $1,892!
DIY tips
- Power wash your home’s siding one to two days before painting it to ensure that the surface is clean and free of debris. Make sure that it dries completely before applying the new paint.
- If any mildew is present during cleaning, remove it with a bleach-and-water solution — then rinse it clean.
- Use a latex paint. Priming is not required prior to painting vinyl siding.
- It’s best to choose a paint color that is no darker than the original color of the siding.
- Choose the best quality paint you can afford — it will last longer. Less-expensive paint may start peeling or fading after only 4 years, while a really high-quality paint will last longer.
- Work by painting from the top down.
- Divide your house into sections to make it easier to paint without showing where you leave off each time you take a break. Be sure to complete each section entirely before moving on to the next one.
Don’t count on changing a pale-yellow house to hunter green. Dark colors absorb more heat than lighter ones and can cause panels to expand too much and buckle. (For that very reason, vinyl’s color palette is limited to lighter shades.) Source
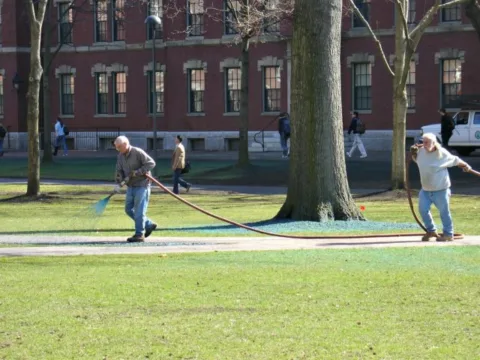
#5 – Hydroseed The Lawn
Reasons to hydroseed your lawn
Your lawn plays a huge role in your home’s curb appeal.
A lush, green, well-tended lawn has an inviting appearance that can really draw people in. It also makes a nice place for kids to play and for entertaining.
Hydroseeded lawns usually establish faster than hand-seeded lawns. It’s a fast way to add some healthy grass to your lawn — particularly if you currently have no grass or you have a lot of bare patches.
Hydroseeding the lawn is fairly easy to DIY. It requires little more than a hydroseeding kit that attaches to your garden hose and a lawn sprinkler.
Cost to hydroseed a lawn
- The average cost to hydroseed a lawn professionally is around $.18 a square foot (or $7,840 per acre).
- Doing this home improvement project yourself costs about $.09 a square foot (or $3,920 per acre).
- DIY SAVINGS: 50%!
DIY tips
- Loosen the soil where you’ll be applying the hydroseed so the mulch will have something to grab onto.
- Decide which method you will use to hydroseed your lawn.
- Not all grass seeds are the same. Be sure to research your climate and weather conditions before selecting a seed for your lawn.
- You must keep the lawn wet at all times for the first 2 weeks after hydroseeding in order to get a healthy growth.
- Avoid walking on the lawn during the first 2 to 3 weeks — because any contact can cause thin spots or bald spots. And don’t let your dog urinate on the new lawn during this time.
- Mow your new lawn when the grass gets to be 3 inches high, but only cut one-third or less of the length for your first few mows.
- It’s important to complete the hydroseeding process immediately before the prime grass growing seasons.
You need to sprinkle it lightly with water at least two to three times a day for the first two weeks and taper it down to one to two sprinklings a day for the following two weeks. Take care to ensure puddles do not form on the lawn. Source
DIY Curb Appeal Ideas Save Money
There are many things you can do to improve your home’s overall appearance and curb appeal.
Tackling these home improvement projects DIY can save you thousands of dollars in professional fees.
A few downsides of doing them yourself:
- The tasks may take a little longer to complete than if you’d hire a professional
- You’ll probably have to rent some equipment.
- You may need to enlist the help of one or more friends or family members to help you complete the project in a timely manner.
While not every exterior job is going to be suitable for every DIY homeowner, completing even a few of these yourself can definitely save money.

