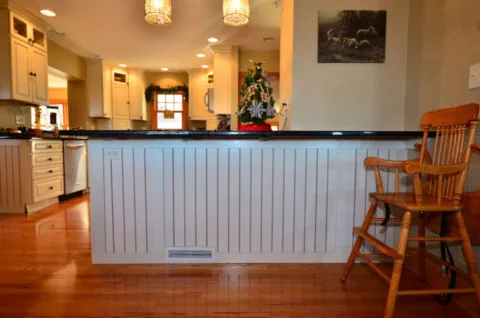
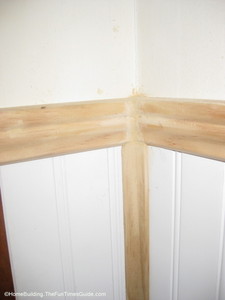
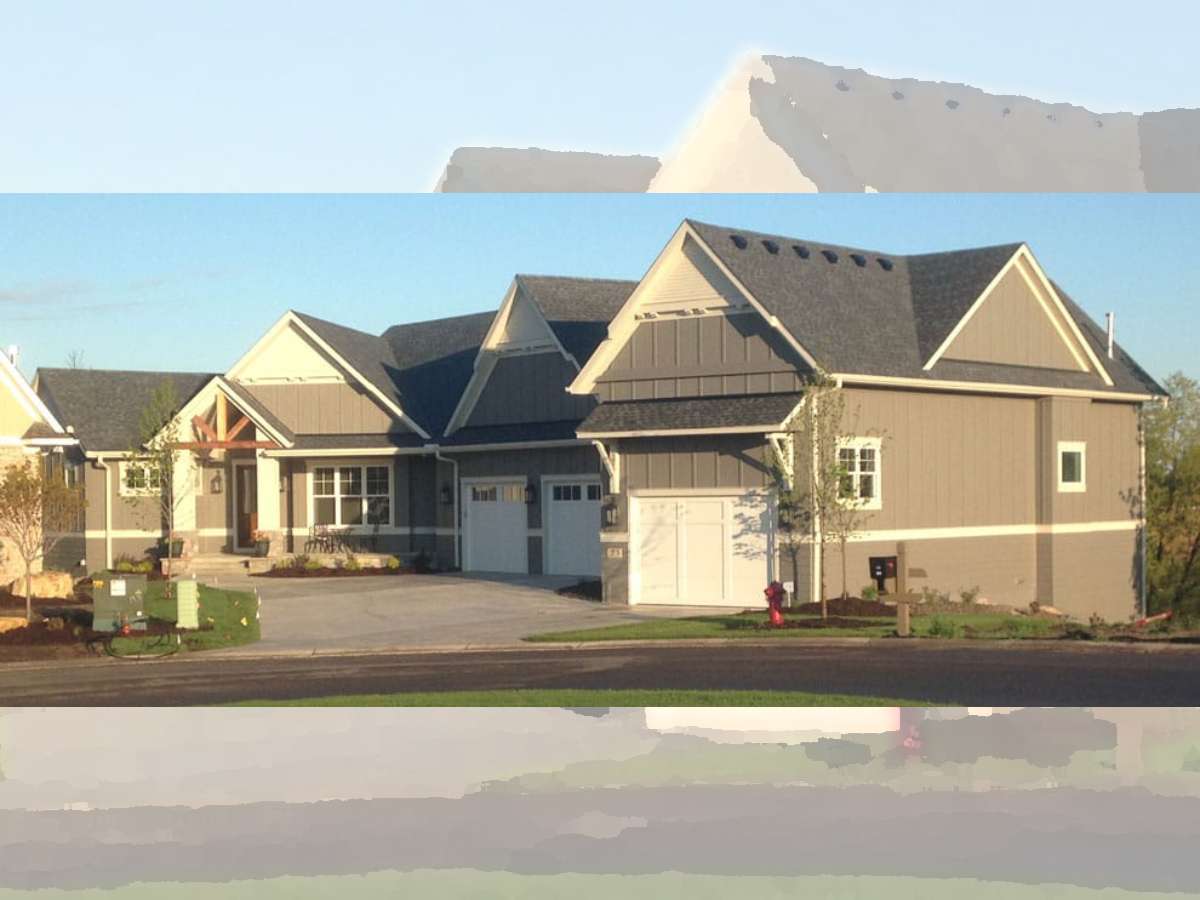
I installed beadboard paneling in my kitchen and you can do it, too. All that’s left to do is to sand the trim work and paint all of it.
The beadboard paneling is actually a product called hardboard paneling and is not authentic beadboard. The hardboard paneling is an engineered product and is made in Michigan by Decorative Panels International (DPI)- Alpena Hardboard. It turns out that the paneling I bought has a couple of characteristics about it that made it a responsible buying choice.
Why?
- It’s made in the U.S.A. (MI) and finished in Ohio.
- There’s no formaldehyde added to DPI hardboard, unlike MDF.
- All of the wood used to make them is harvested in accordance with Forestry Stewardship Council (FSC) guidelines under the company’s forestry management program.
I installed the beadboard paneling for my wainscoting project as one part of our ongoing kitchen remodeling project.
I capped it with a new chair rail and finished the inside and outside corners with small trim pieces for a professional finish.
Step-By-Step Process Of Installing Beadboard Paneling
First, we removed the old wallpaper, chair rail, quarter-round shoe moulding and baseboard. I knew that I was going to re-use the baseboards and moulding, so I removed the finish nails after I removed them from the walls. The chair rail was being replaced with a low profile chair rail that has a 3/16″ indentation on the backside for a smooth transition of beadboard to chair rail.
I measured all of the areas of the kitchen and breakfast room walls (height and width), keeping in mind that the panels I was buying were in 4′ x 8′ sheets and not the true beadboard single/double panels that come together a tongue and groove style. Either way, make your measurements, write them down and make your purchases.
I measured out how much new chair rail I would need, as well as inside/outside corner trim molding. I also purchased more quarter-round shoe molding because I knew that certain walls (outside corners) would be lengthened approximately 3/8″ due to the thickness of the paneling to be installed. I had additional baseboard in “the lumber pile” in the basement from a previous project if I found I needed more, so be aware that you may need more, too.
Once you’ve made it home with all of your lumber and materials, including nails and brads, take your panels and place them in the room in which they will be installed and leave them there for at least 24-48 hours prior to installation. This will give the wood time to acclimate. If you’re using 4′ x 8′ panels, stand them on end on the 8′ side with shims in-between them.
How High Should The Beadboard Paneling Be Cut?
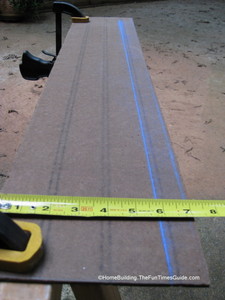 Beadboard paneling
 is generally 33″ – 48″ high. I cut mine 38 1/2″ high. By the way, we didn’t need to remove the wallpaper on the lower half of the wall where the wainscoting was to be installed, but we did anyway because we’re weird like that.
DPI suggests leaving a dime’s thickness (1/16″) on the long edge when installing boards side-by-side and raise it above floor level by 1/8″ with shims.
TIP: Here are step-by-step installation instructions for hardboard paneling.
Starting in a corner, begin cutting your first piece. When cutting the DPI product with a table saw, I laid it face down and used a fine-tooth blade (140 teeth) made for OSB and plywood. I made a mark on opposite edges and snapped a chalk line for a perfectly straight line to cut by.
Dry Fit the Beadboard Paneling First
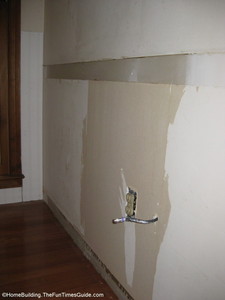
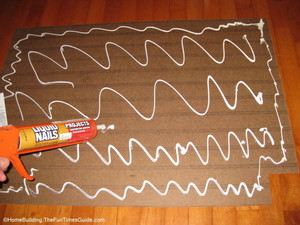 Dry fit it to the wall. If it’s a good fit, lay it face down and apply a bead of construction adhesive on the backside of the panel around the outside edge (about 1″ from the edge) and then apply a few squiggly lines of adhesive on the remainder (see photo).
If you’ve got a nail gun, I’m envious. If you don’t have a nail gun and you’re going old school like me (hammer), you’ll need 4d – 1 1/2″ bright finish nails. I purchased and used panel nails, also, but I found that the finish nails were easier to work with.
Cutting Out the Outlet Holes In the Paneling
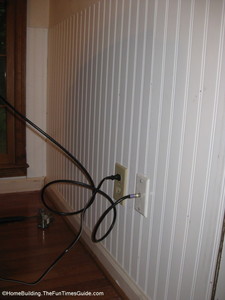
When I made my cut-outs for the electrical and cable outlets with my jigsaw, I laid the panels face up to avoid rips and jagged edges on the finished side. When you need to make your custom cuts for the outlets, you can run chalk around the outside edge of the box and press the back side of the panel up against it. Viola!
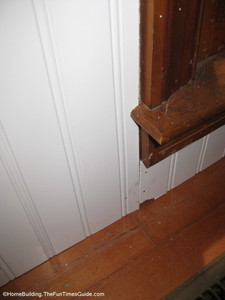 Now you know where to cut. Or… you could measure how far it is from edge to edge and make your marks.
Either way, take your drill and put a nice, big drill bit on it and drill a hole through the panel (face up). You may now use a tapered handsaw, or a jigsaw, to maneuver your way around your measurements to make the perfect cut-out. Dry fit it again and if you’re happy with it, apply your adhesive and nail it in place.
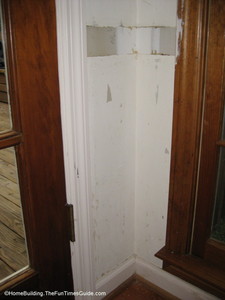
When you find yourself trying to figure out how to make custom cuts around window trim, do what I did. Take your handheld miter saw and cut out a small sliver (the thickness of the beadboard you’re using) of the window trim that is flush against the wall and slip the beadboard behind it. (see photo on right)
Install your panels in a clockwise (or counter-clockwise) fashion.
Installing the Trim Moulding
Again, you’ll need to install your trim pieces in an orderly fashion by moving around the room because of slight variations in lengths and widths now required due to the beadboard panels that have just been installed.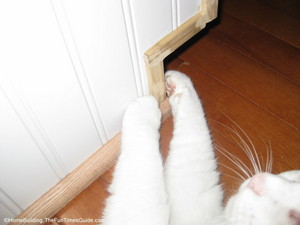 Definitely use your finish nails and nail set for the trim moulding. I have a compound miter saw so that made my project move along a little faster and the pieces fit nice and tight.
Once you have all of your chair rails and baseboards installed, it’s time to intall the inside and outside corner trim pieces. Nothing to it… just do it. It’s a piece of cake.
 Here’s another great little tip. I applied carpenter’s wood glue on the outside corner trim pieces and smoothed it on with my fingertip for better surface coverage. In order to avoid the wood being split by the trim nails, I used # 18 x 3/4″ wire brads. Works like a charm and better yet there is no split wood trim. That would be frustrating.
How To Finish The Beadboard Paneling
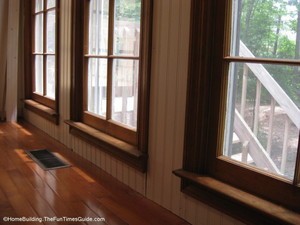 All that’s left to be done is to use a little wood putty to fill the nail holes and fix any areas that you may need some attention. Now… take your caulk gun and stick a tube of paintable/stainable silicone in it (white/clear – your preference) and run a bead along the top edge of your chair rail and in the small gaps along the vertical edges where doors and windows meet the beadboard.
Sand smooth all of the areas that you applied wood putty and use a tack cloth to remove the remaining dust. Paint or stain your beadboard first and then the trim moulding second.
Nothing to it… right?!

