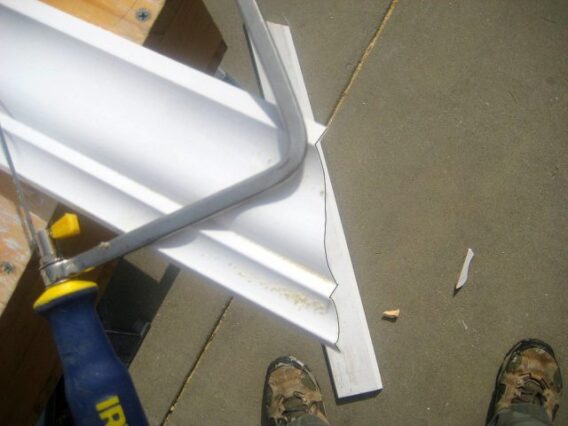
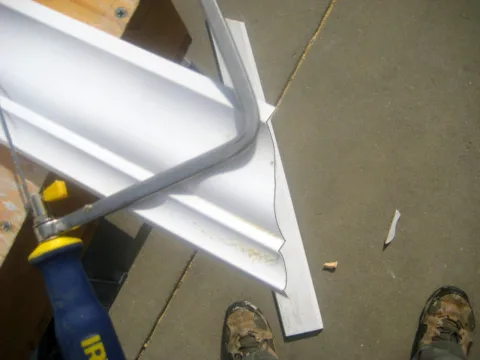
Learning how to cut crown molding can be confusing, unless you’ve seen it done.
Seeing crown molding being cut is a whole different ballgame than just reading about it. It puts things into perspective, and cutting crown molding is all about how you look at it — literally.
Aren’t you glad you found this page? You’ll be a crown molding do-it-yourself “pro” in no time.
Why is cutting crown molding seemingly so difficult?
Because all of that upside-down, right side for left side stuff is crazy… unless you see how it’s done!
Learning By Doing
I recently completed a crown molding project for my dining room and it really added a finishing touch to the room.
Installing crown moulding also adds value and visual appeal to your home.
I can’t tell you how glad I am to finally get the crown molding project behind me, though. I put it off for quite awhile. Other projects came and went but this one had to be tackled come hell or high water.
Why? Because I was intimidated by the angles and positioning!
You may be in the same position I was. Have no fear.
I had given a couple of token efforts to cut the crown molding on my own to get the angles right and it just wasn’t coming together for me. But that was before I got serious about it and watched a couple of great videos (provided below) that seemed to make it all “click” for me. Personally, I’m a visual learner and seeing it done — and then doing it — is much more helpful for me than reading about it.
So I’m sharing my best tips and the most helpful videos I’ve found — to make cutting crown molding easier for other newbies.
How Much Crown Molding To Buy
First, measure the dimensions of the room in order to calculate the lineal feet of crown molding you will need to purchase.
Add at least 10% for waste and practice cuts.
Be sure and measure up where the crown molding will be installed — so that you don’t get caught up in any trim work installed along the lower portion of your walls.
How To Cut Crown Molding
There are a couple of very important things to keep in mind when cutting crown molding:
- The bottom of the crown molding will always be more detailed than the top.
- The fence (vertical) of the miter saw should be thought of as the wall of your room, and the table of the miter saw is considered to be the ceiling of your room.
There are also 2 indispensable tools for this project:
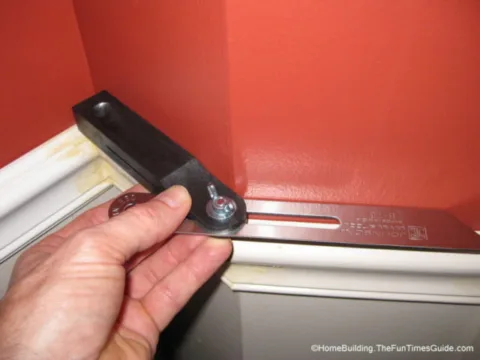
- A protractor (a sliding t-bevel also works)
- A compound miter saw
It’s important to use the protractor to measure the angle for each cut — because humans build houses and not everything is necessarily square.
This project is easier to accomplish with a compound miter saw, but it can be accomplished with a simple miter saw using beveled cuts. Beveled cuts are more complicated, so I prefer not to focus on that version of cutting to simplify matters here.
A 10″ compound miter saw will suffice for crown molding up to 5″ in width. You’ll need a larger saw for wider pieces.
There are 2 different types of miter cuts to focus on:
- Inside corners
- Outside corners
You may have fence stops on your miter saw. If not, you’ll need to make your own fence stop by cutting and securing a small piece of wood to the tabletop of the miter saw. Place the crown molding on the table of the saw with the beveled cuts flat against the fence and table (see video). This will allow you to cut securely every time for a snug fit.
Cutting Inside Corners for Crown Molding
For right side crown molding miter cuts:
- Position the molding upside down firmly against the fence stops.
- Set the miter for a 45° left-hand cut.
- The piece you will use will be on the left side after the cut is made.
For left side crown molding miter cuts:
- Position the molding upside down firmly against the fence stops.
- Set the miter for a 45° right-hand cut.
- The piece you will use will be on the right side after the cut is made.
Now, see it done in this video:
Cutting Outside Corners for Crown Molding
For left side:
- Position the molding upside down firmly against the fence stops.
- Set the miter for a 45° left-hand cut.
- The piece you will use will be on the right side after the cut is made.
For right side:
- Position the molding upside down firmly against the fence stops.
- Set the miter for a 45° right-hand cut.
- The piece you will use will be on the left side after the cut is made.
Now, see it done in this video:
When The Molding Isn’t Long Enough…
Most crown molding stock comes in 10′ pieces. So if you have a wall that is longer than 10′, you’ll need to make a scarf cut.
To make a scarf cut, simply press the back of the molding against the fence of the saw and move the miter to a 45° angle and make your cut. The corresponding piece will need to be but at the opposite angle for a perfect fit.
These 2 videos show how to do splices or scarf cuts:
The Best DIY Cut Crown Molding Videos
As I mentioned earlier, there are a couple of great videos that put me on the right track to completing my crown molding project.
These first 2 videos are from Wood Magazine. I like how they’re so detailed and have great camera work…
https://youtu.be/C9de1SUJIHs
Finally, these last 2 videos show you how to cut crown molding perfectly every time without using books or charts. See how a crown molding cutting jig makes the task so much simpler…
By now, you should have a good idea how to cut crown molding. If you’re still not quite certain, make practice cuts on 1′ sections and position them for proper fit. Once you have the idea, keep focused and finish your crown molding project, once and for all.
This last video from Bob Vila has a great tip for making your crown molding project look seamless and professional:
https://youtu.be/cL7koc_4IgU
MUST READ: How To Cut And Install Crown Molding And Trim
I started as a home-stalker… visiting brand new homes under construction in the neighborhoods near my house. That inspired me to write about home building and home renovation projects — chronicling homes during different phases of construction from a consumer's point-of-view. Basically, the tips you'll find in my articles are a collection of checklists for what I think should (and should not) go into building or remodeling a quality home.
