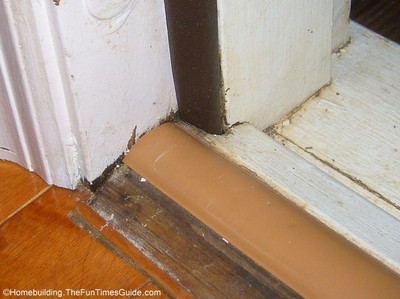
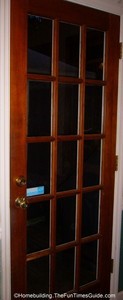
 We have a 15 pane single French door that needed some repair. It’s original to the house, so 20+ years of weather and wear have taken its’ toll. Besides the glass panes, it is solid oak so you can work with it to make repairs, if necessary.
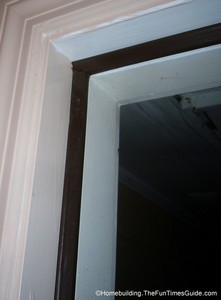
The door is actually not the culprit here. It appears that the cantilevered breakfast room had sunk a fraction of an inch to the point that the door frame wasn’t square anymore, therefore causing the door to stick on the left side of the bottom threshold when trying to open or close it. I just couldn’t take another day of a door that didn’t work properly.
What did I do to the door to have it open and close clean and firm? It wasn’t a fix requiring great skill. Just a lot of patience through trial and error. Fixing the door to match the frame was a quicker, easier and just plain cheaper solution than raising the breakfast room a half-inch.
I knew that the bottom of the door wasn’t sealed properly so moisture had been getting in and making matters worse. So I had two things to accomplish in order to get the door in proper working fashion:
- First and foremost, I had to plane and sand the bottom of the door to keep it from touching the bottom threshold.
- Second, I needed to properly seal it to avoid a moisture problem in the future.
Determine Where The Door Sticks and Plane It
The first step was to take a look at the gap at the bottom of the door where it meets the threshold. You can take a sheet of paper and see if you can slide it underneath or you could do what I did; take a flashlight (in my case I used the Flashlight app on my iPod Touch) and asked my helper to stand inside the door while I stood on the outside. I just moved my "flashlight" along the bottom seal and she told me if, and where, she could see any light coming from underneath the door. All this told me was where I needed to plane the door.
The next step was to remove the door from the frame. You can take a 16d or 20d nail or a skinny screwdriver and a hammer to tap out the bolts (from underneath, of course) from the hinges. It’s best if you have a helper to steady the door while you do this. You don’t want to damage the hinges, your floor, or your head from a falling door.
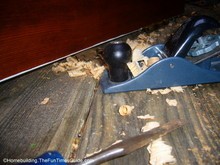
Carefully slide the door away from the door frame and turn it sideways on its’ edge. Examine the bottom edge and carefully begin to plane the area(s) that you’ve identified as the sticking points. Use nice, even pressure while planing. Take off as much wood as you think you need to…but remember that once you shave it off you can’t put it back on.
While the door was off, I removed the old threshold seal and the door seal and replaced them with new ones that I picked up at the store.
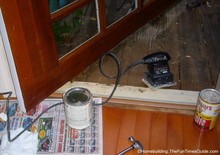
Put the door back on and close it. If it still sticks, remove the door and plane and/or sand it a little more. When my door closed nice and firm without sticking, I removed it once more and used my palm sander to make the bottom edge of the door nice and smooth to prepare it for sealing with primer and paint.
How To Seal The Bottom of an Exterior Door
After sanding the bottom edge for a smooth finish, I removed all dust from the bottom of the door. I then applied a coat of exterior primer and let it dry thoroughly. The next step was to apply a couple of thin layers of exterior grade latex paint allowing plenty of drying time in-between. Remember that the more humid it is, the longer it will take to dry properly. The same goes for cold weather. Cool (not cold) temps and low humidity is the ideal time to complete a project like this. Read the instructions on the paint can for proper use. I live in Georgia so a dry day just doesn’t happen that often.
 The recommended paint to use for this type of project is actually an oil-based alkyd paint, as it dries harder and doesn’t have a perpetual tackiness to it like latex does. If you happen to use latex paint like I did, the tip of the day (with a nod to The Natural Handyman) is to dust the door edge with talcum powder to keep the tackiness to a minimum. I haven’t tried it yet but I intend to where the door touches the threshold ever so slight.
After I gave the paint plenty of time to dry, I re-installed it and took great pride in a door that finally opened and closed trouble-free. Now onto the next project…installing a door sweep.
As a side note, I had to repair some water rot on the exterior portion of the door frame. I’ll go over how I did it in a secondary post.
Good luck with your wood door repair!
Resource:
How to Fix an Exterior Door That Sticks via The Natural Handyman

