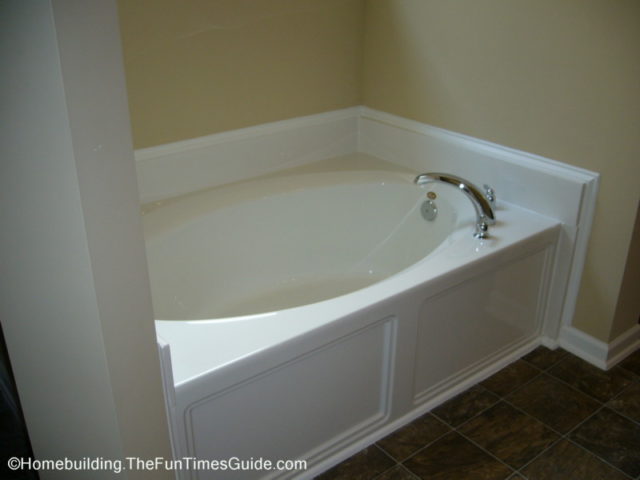
A crack in a fiberglass tub or shower isn’t always a reason to replace it.
Fiberglass repair — once left to the professionals — can now be completed by the meticulous homeowner using a fiberglass repair kit.

Before attempting a repair, it is important to know that most likely the crack will still be slightly visible.
If this bothers you, have your fiberglass tub or shower replaced, or call a professional to make the repair. However, if you just want to make a repair that will enable you to continue to use your shower, then you can fix it yourself.
Here are step-by-step instructions to assist you with your fiberglass tub repair project…
Why Did The Fiberglass Crack?
The first step in making a repair is to figure out why the crack occurred and fix the underlying problem.
If you dropped something in the shower and caused the crack, no further repair is needed. However, if the crack in the fiberglass started to appear over the course of several days, you must provide additional support to prevent more cracks.
Here’s how to fix the crack:
- Drill a hole through the crack and into the cavity below.
- Fill the cavity with an expanding foam sealant
to help support the sides of the tub or shower pan.
- Let the foam cure for at least 48 hours or according to the manufacturer’s instructions before proceeding.
How To Repair A Fiberglass Tub/Shower
- To make a fiberglass repair, you’ll need a fiberglass repair kit and epoxy paint that matches the fiberglass. You’ll also need an attachment for your drill that will allow you to sand the area surrounding the crack. And make sure that the area you will be working on is completely dry before beginning any repair.
- Using the drill attachment, sand the area around the crack until you hit well-bounded fiberglass that is in good condition. Then, using the materials from your fiberglass repair kit, cut dry fiberglass patches to fit the hole in your shower. (Because fiberglass is formed out of several thin layers, you will need several fiberglass patches to make the repair.)
- Mix the epoxy and resin contained in the kit. Dip each piece in the mixture and smooth it into place, layering each patch over the patch before it. The last patch should be level with the rest of the tub. (Most fiberglass tub repairs require only 3 to 4 layers.)
- Wait for the fiberglass repair to harden according to the kit directions. Since fiberglass is not waterproof, you must use a fiberglass sealant over the patch (normally included in the kit) to prevent any leaking. Wait for the whole area to cure.
How To Check Your Work
Next, do a test for leaks.
Here’s how to test for fiberglass tub leaks:
- Fill the bathtub with water and mark the level of the water with a piece of tape.
- Come back in 4 to 6 hours to make sure that no leaks have occurred.
If your repair doesn’t leak, you should now paint the entire shower or tub with epoxy paint. This will blend the patch with the surrounding area and create an additional seal to prevent any future leaks.
Epoxy paint is difficult to work with. Be sure to work slowly to prevent any streaking and to create the best looking finish possible.