5 Secrets For High-Fashion Low-Budget Decorating As Seen Inside Celebrity Homes
Dreaming of decor like you'd find inside celebrity homes? 5 savvy decorating tips to spruce up your home like a celebrity... minus the expense.
Dreaming of decor like you'd find inside celebrity homes? 5 savvy decorating tips to spruce up your home like a celebrity... minus the expense.
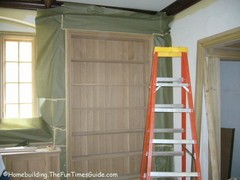
Building built-in DIY bookshelves at home is made easier than ever with stock materials that you can purchase at your local home improvement center. If you're a little more adventurous and have the carpentry skills to back it up, you could build them from scratch. This easy to follow video shows you step-by-step how to DIY.
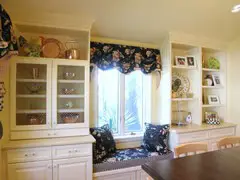
How many times have you seen a window seat with a soft cushion and some pillows and thought it would be cool to have one of those in your own house. Now imagine having custom storage and built-in bookshelves surrounding that very same window!
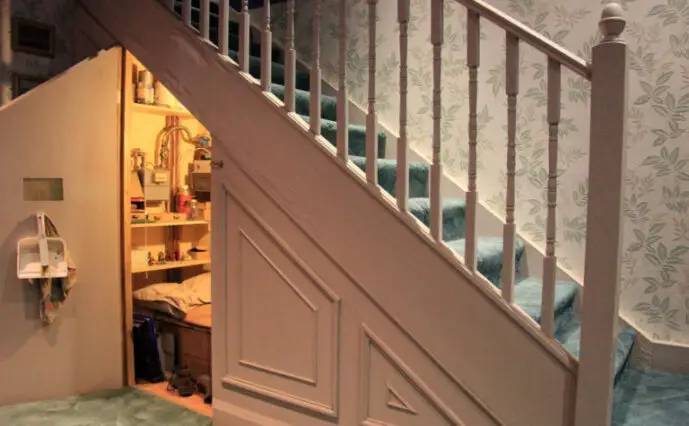
Do you need more storage space in your home? How about taking advantage of a slightly unusual location to create storage under stairs.
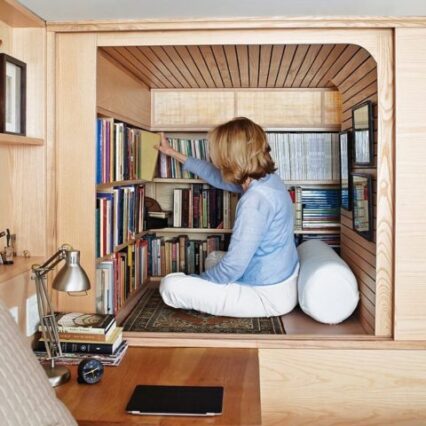
Attention Avid Readers! Loads of links and photos and a little DIY content showing various types of hidden bookcase doors for that home library that you've always dreamed about. There are more applications than you might have thought of for these types of doors.
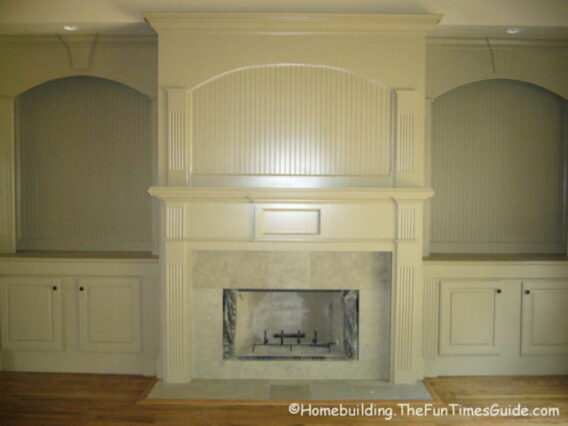
Custom built-in bookshelves are always a welcome sight in a home. They're functional and take up little or no additional square footage. Here are some photos of built-in bookcases to fill you with ideas... and a video showing how to build them if you're interested.